Blanket Chests
Heirloom Quality Blanket Chests to Last a Lifetime
2005 - "A box for Anna."

 The top is book matched ¾" material re-sawn from 8/4 rough stock.
"J" Stands for Jesus!

This
blanket box was for our niece Jennifer. It was crafted out of solid
maple, hardwood plywoods, and cedar. It features a router carved “J" in the center
panel. It is also my first attempt at bracket feet. At the time I
built this piece our middle child was 5 years old. She came up to me
one Sunday afternoon and asked me what I was doing. I replied that I
was making a graduation present for Jennifer.
In her most triumphant voice she exclaimed, " Daddy, I know that the "J"
stands for... It stands for 'Jesus'" I thought for a minute and said,
"It sure does, honey". She replied back, "Oh yeah, and Jennifer too."
The finish is glazed white acrylic
with two clear coats.

Ash wood construction. Book matched front panels. Front center panel is carved with an "A" for the Bride's first initial. Top is a mitered breadboard edge with floating pegs in the middle and back. Bottom panel is aromatic cedar. Lining is aromatic cedar closet lining.
Finish is two coats Target Coatings Water dispersed golden red shellac. This provides nice definition of the colors of the front book matched panels.

This ash material was nicely yellow in base color with amber and reddish brown streaks and peaks in the matched panels, so the garnet red color of shellac made the color pop. The top coat was four (4) coats Target Coatings water based lacquer at 40% (satin) sheen spray applied.


Base feet are hand cut bracket feet with #20 biscuits for the spline.
Refinish an old Lane Cedar Chest July 2023

Stripped using Citristrip, wiped with lacquer thinner and denatured alcohol. Citristrip is REALLY gooey, so make sure to wipe it off then wipe it off some more, so it will dry. The mahogany veneer was in pretty good condition, but PAPER thin. After the piece dried from stripping, I LIGHTLY hand sanded with 400g paper. Light wash of brown mahogany #6008 trans tints in denatured alcohol to even out all the different grain patterns and color variations.


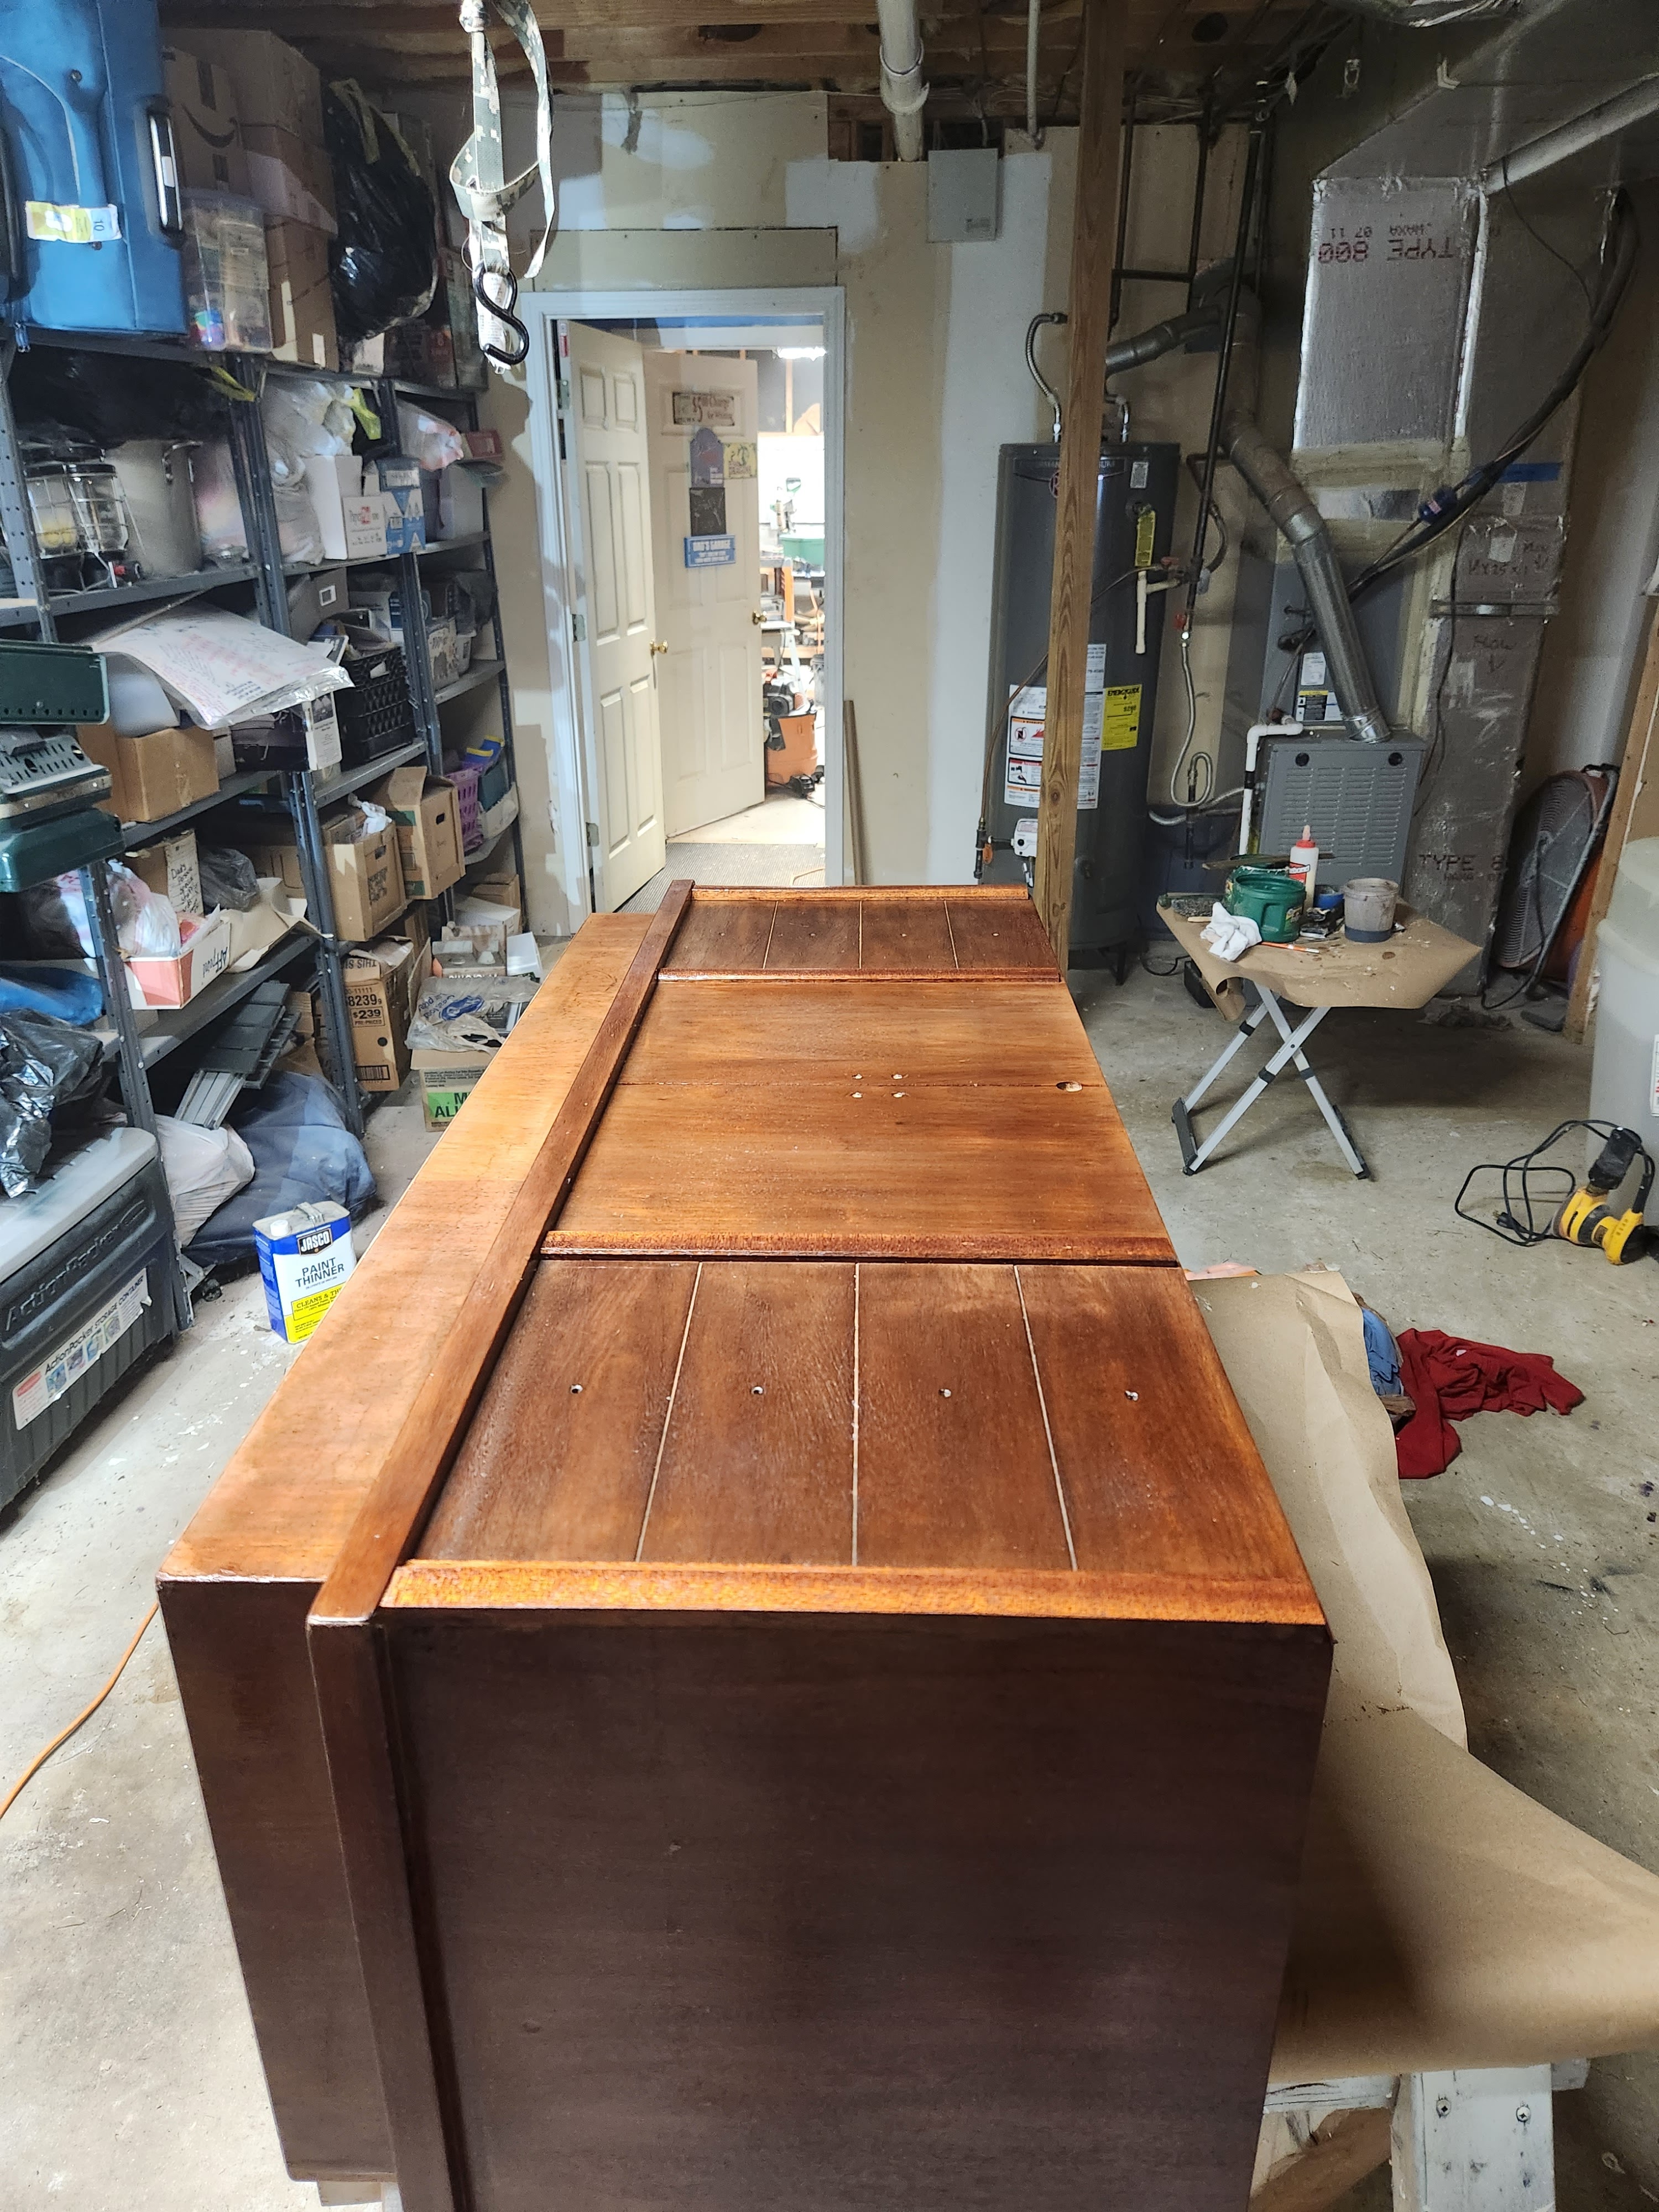

Top coat schedule is 1 coat Zinsser seal coat shellac, 3 coats satin Target Coatings Emtech 6000 satin sprayed.
The center faux handles are brass, so I shined them up on a super soft gunsmith carding wheel. The small knobs are pot metal plated with brass. The knobs had rusted, and the plating had flaked off. I sanded the knobs down to white metal, and heated them to blue/black with a plumbing torch. While hot I brushed them with a brass brush to transfer brass back to the knobs. 4 Light coats of rattle can lacquer, and all the hardware looks brand new.
Because the veneer is paper thin, I had to leave the wear marks and veneer imperfections as they were. Any attempt to repair looked worse than leaving everything alone. Overall pleased with the quick overhaul. Attached are some before, during and after shots.

Comments
Post a Comment